In this article, we’ll learn about how to install WordPress on LocalHost i.e., Your PC, either Windows or Mac. Start developing the website on your local machine before deploying it to the main server.
For those who are beginners here and started developing an interest in Web Development. You might have some questions in your head so let me clear them first.
What is WordPress?
In very simple words, WordPress in Content Management Software (CMS) made by wordpress.org. It is just a bunch of files made of HTML, CSS, JavaScript, jQuery, PHP & MySQL. using these programming languages wordpress.org has made a Back-end + Front-end user-friendly system for users to manage the content of a website and display it accordingly and use it as you like.
Why WordPress?
To save a hell lot of time and giving an opportunity for everyone to start developing a website on their own without any technical or programming knowledge. Using WordPress is like using social media handles you just know where to click and which action leads to what reaction. Although you can use programming languages to create websites and add features to it as your liking. But most of the business and article based website (i.e, Blogging) doesn’t require high-end programming to solve the purpose.

Numbers speaks for themselves. So over all the internet 24,8088,989 website are using WordPress as their CMS.
So we’re talking about installing WordPress on your local machine i.e., your computer, laptop running on either windows or mac.
To install WordPress you need to install a server on your machine. You are like how can you install the server on your machine that must be huge and take up a lot of resources. Don’t panic. You just need to install an Apache server that works with PHP and serve all the files like HTML, CSS, JavaScript, etc to the web browser.
The software that we require to have all the functionality we needed is XAMPP very popular among the website development industry.
XAMPP is an easy to install Apache distribution containing MariaDB, PHP, and Perl. Just download and start the installer. It’s that easy. Just go to this link and download the XAMPP and install it like you install any other software just click NEXT => NEXT => I Agree Buttons etc and it will get installed easily. Choose any Drive to install it whether its C Drive or D Drive. After successful installation, It will create a folder named xampp in the drive that you have selected to install it.
Run xampp-control and you will for use see something like this
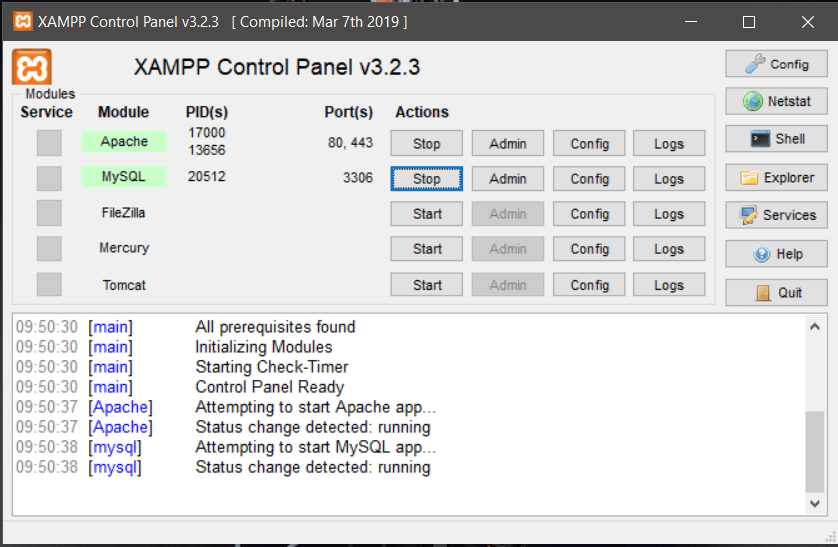
In this control panel start 2 services only i.e., Apache and MySQL. rest services FileZilla, Mercury, Tomcat we will leave them as it is. We don’t require them as of now. we will learn more about them in some other article.
After doing this open your browser either Google Chrome, Mozilla etc and type the url : localhost or http://127.0.0.1/ and if you did everything right as mentioned above you will see this page:

After this go to the drive where you have installed XAMPP and go this this folder. htdocs is the main folder in which you will keep all your PHP files and projects. Apache server will fetch files from this directory and serve them in the Web Browser.
C:\xampp\htdocs
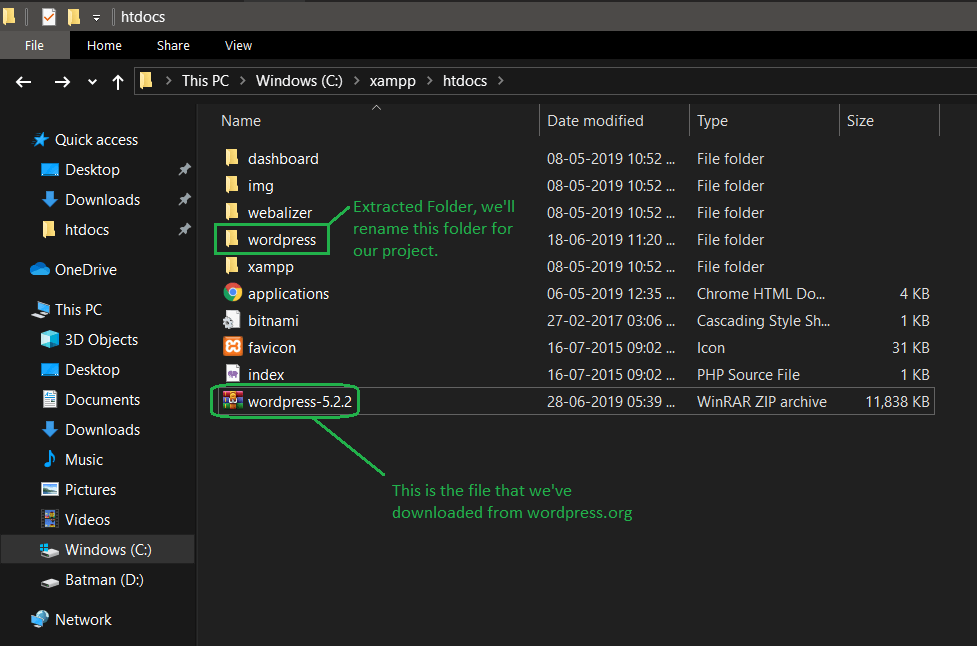
After this download WordPress, CMS from its official website https://wordpress.org/download/ Download the zip folder and keep it in htdocs directory i.e., C:\xampp\htdocs\
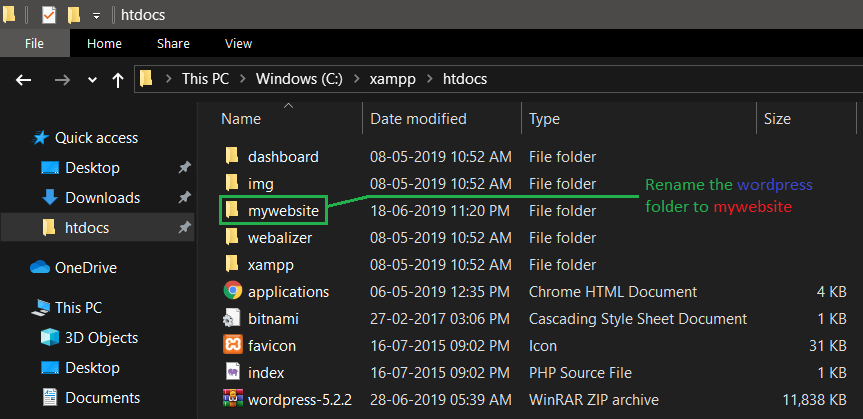
Extra it there and you will see a folder named wordpress will be extracted. Rename that folder whatever you like for this article i will rename it as mywebsite
Now go to your browser and type the url – localhost/mywebsite or 127.0.0.1/mywebsite

Now after this step everything looking fine and now will talk about the database.
What is Database?
In simple words, the database is used to store information and data related to our project, in this case, our website. In PHP website development we need to have some knowledge of Database. so to access a database of our server you have to open your browser and type the URL – localhost/phpmyadmin

Now we will create our own database for our website i.e., mywebsite and setup it to connect our website files to the database based on MySQL. you don’t need to know about what MySQL is? how to work in MySQL. Now we’ll create our database inside phpMyAdmin so to do so –
- Click on new on the top left side
- Enter the database name and click create (i will name my database as – mywebsitedatabase and click create)
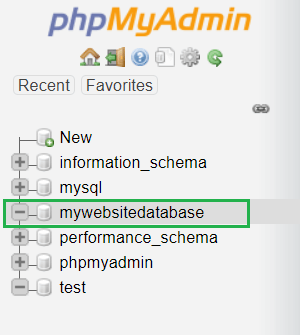
So finally we have created our database with the name mywebsitedatabase you can also see other database already exist there same like ours. Do not play with them. It’s Illegal.
Now go to your browser and type the URL – localhost/mywebsite or 127.0.0.1/mywebsite
Click on Let’s Go
Now you have to setup the WordPress configuration for your website in this case ‘mywebsite’
So you must be seeing many fields with prefilled values we have to fill those as i filled it in the below image

Database Name : – the name of database which we’ve created inside the phpMyAdmin i.e., mywebsitedatabase
Username : – the name of user who has access to phMyAdmin in out case it is root
Password : – since we have not set any password during the installation of XAMPP so we will leave it empty.
Database Host : – localhost this is already filled correctly
Table Prefix: – wp_ | you can change it if you want but I won’t recommend it. leave it as it is. it basically creates a prefix for tables inside our database.
CLICK Submit

Click on Run the installation, if you see this page it means you have successfully connected to the database you have created. it means your website is able to communicate with database and exchange information with it like email address, passwords, phone numbers, etc.


Click Install WordPress
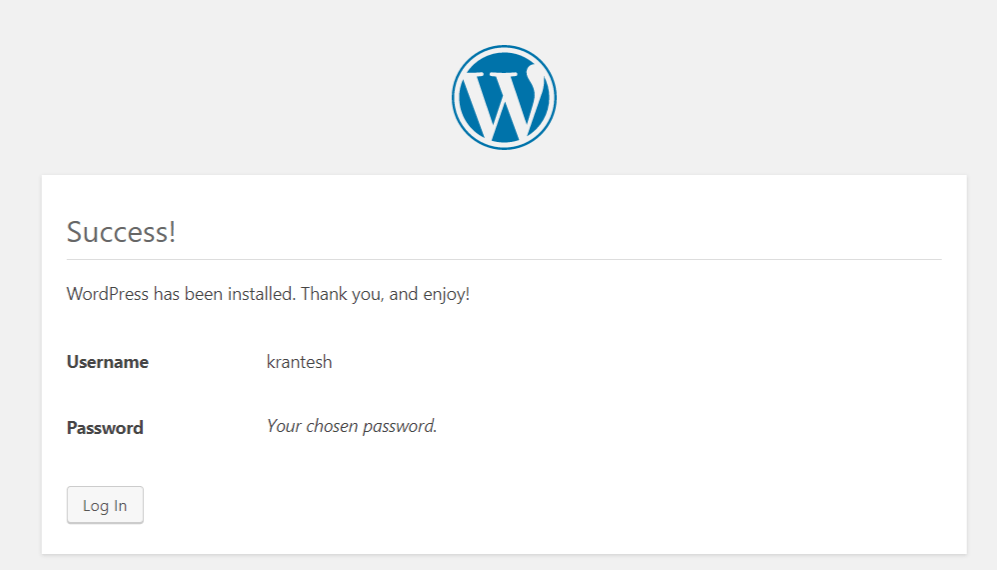
Now with the details that you have filled in the previous page, use those username & password and login to your WordPress Dashboard. Ta Da you made it your wordpress Dashboard. Now from this dashboard you’ll be able to manage and create many pages for your website and also able to design the front page and do a hell lot of things you’ve ever imagined.

Thank you for reading and learning.
Please comment below if you have any kind of doubts during this whole process.
Krantesh Singh